| Product characteristics |
|---|
| Number of inputs and outputs | Number of digital outputs: 1; Number of analogue outputs: 1 |
| Measuring range | |
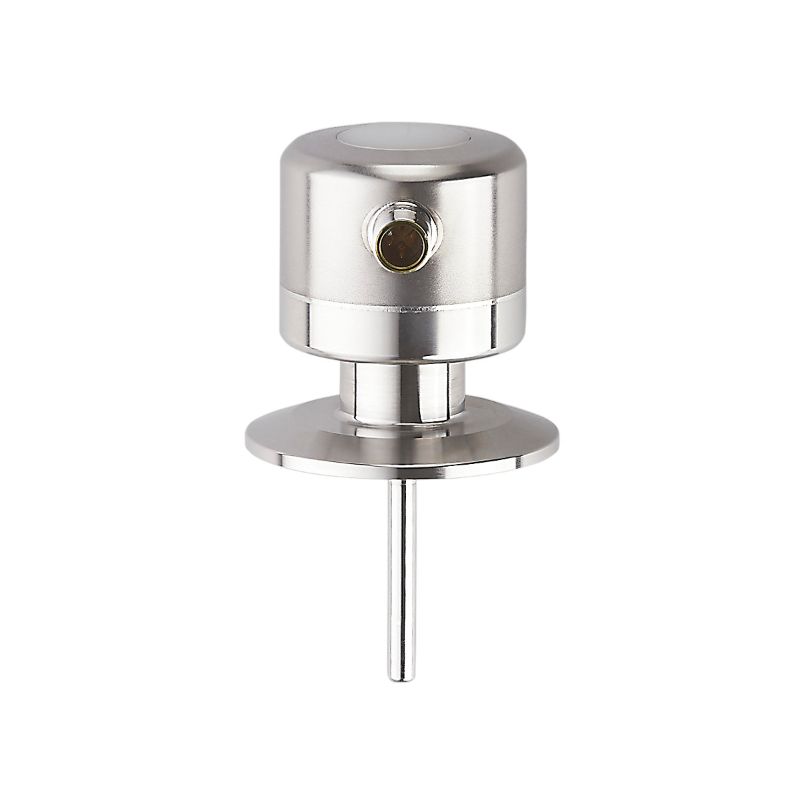
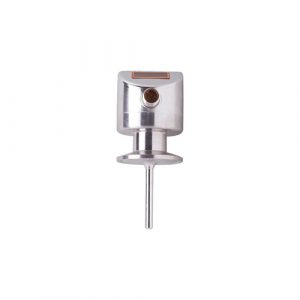
| Process connection | Clamp DN50 (2″) DIN 32676 (ISO 2852) |
| Installation length EL [mm] | 50 |
| Application |
|---|
| Special feature | Gold-plated contacts |
| Measuring element | 1 x Pt 1000 |
| Reference element | 1 x NTC |
| Media | liquids and gases |
| Pressure rating [bar] | 160 |
| Electrical data |
|---|
| Operating voltage [V] | 18…32 DC; (“supply class 2” to cULus) |
| Current consumption [mA] | 10; (24 V) |
| Protection class | III |
| Reverse polarity protection | yes |
| Power-on delay time [s] | 6 |
| Integrated watchdog | yes |
| Inputs / outputs |
|---|
| Number of inputs and outputs | Number of digital outputs: 1; Number of analogue outputs: 1 |
| Outputs |
|---|
| Total number of outputs | 2 |
| Output signal | analogue signal; IO-Link; calibration check status |
| Electrical design | PNP/NPN |
| Number of digital outputs | 1 |
| Output function | normally open; (diagnostic signal) |
| Max. voltage drop switching output DC [V] | 2 |
| Permanent current rating of switching output DC [mA] | 100 |
| Diagnostic output | calibration check status and error diagnostics |
| Number of analogue outputs | 1 |
| Analogue current output [mA] | 4…20 |
| Max. load [Ω] | (Ub – 15 V) x 50 |
| Short-circuit protection | yes |
| Type of short-circuit protection | pulsed |
| Overload protection | yes |
| Measuring/setting range |
|---|
| Measuring range | |
| Note on measuring range | |
| Factory setting | -10…150 °C / 14…302 °F |
| Calibration check limit [K] | 0.5…3 |
| In steps of [K] | 0.05 |
| Resolution |
|---|
| Resolution of analogue output [K] | 0.05 |
| Accuracy / deviations |
|---|
| Precision analogue output [K] | ± 0,2 |
| Precision IO-Link [K] | ± 0,2 |
| Temperature coefficient analogue output [% of the span / 10 K] | < ± 0,02; (in case of deviation from the reference condition 25 ± 5 °C) |
| Temperature coefficient IO-Link [% of the span / 10 K] | < ± 0,01; (in case of deviation from the reference condition 25 ± 5 °C) |
| Response times |
|---|
| Dynamic response T05 / T09 [s] | 1,5 / 4 |
| Software / programming |
|---|
| Parameter setting options | Display unit; scaling of the analogue output; calibration check limit; switching logic diagnostic output; simulation mode |
| Interfaces |
|---|
| Communication interface | IO-Link |
| Transmission type | COM2 (38,4 kBaud) |
| IO-Link revision | 1.1 |
| SDCI standard | IEC 61131-9 CDV |
| Profiles | Digital Measuring Sensor, Common Profile, Blob Transfer |
| SIO mode | yes |
| Required master port type | A |
| Process data analogue | 1 |
| Process data binary | 1 |
| Min. process cycle time [ms] | 4.4 |
| IO-Link resolution temperature [K] | 0.01 |
| Supported DeviceIDs | | Type of operation | DeviceID | | Default | 1129 |
|
| Operating conditions |
|---|
| Ambient temperature [°C] | -25…70 |
| Note on ambient temperature | | max. internal device temperature: 125 °C |
|
| Storage temperature [°C] | -40…100 |
| Protection | IP 68; IP 69K |
| Mechanical data |
|---|
| Weight [g] | 408.2 |
| Dimensions [mm] | Ø 50 / L = 114.8 |
| Materials | stainless steel (1.4404 / 316L); PEI; FKM; PFA |
| Materials (wetted parts) | stainless steel (1.4404 / 316L); PEEK |
| Process connection | Clamp DN50 (2″) DIN 32676 (ISO 2852) |
| Surface characteristics Ra/Rz of the wetted parts | Ra: < 0.8 |
| Probe diameter [mm] | 6 |
| Installation length EL [mm] | 50 |
| Remarks |
|---|
| Remarks | | MS = set measuring span | | operating voltage “supply class 2” according to cULus |
|
| Pack quantity | 1 pcs. |
| Electrical connection |
|---|
| Connection | Connector: 1 x M12; Contacts: gold-plated |

